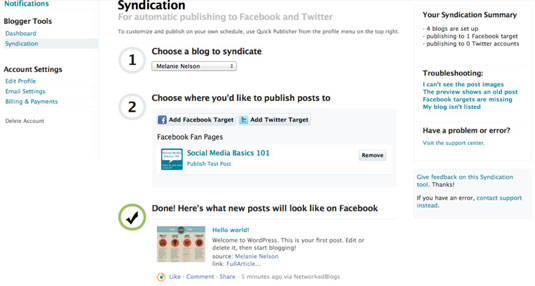
- Use the pull-down menu to choose a claimed blog to feed to your Timeline.More options appear.
- Click the Add Facebook Target button.A dialog box appears with a list that includes your personal profile, all the Pages you’re an Admin of, and the Facebook Groups you admin.
- Click the Add button next to each profile, Page, or Group you want your blog feed to appear on.
- Click the Close button.You see the confirmation that your NetworkedBlogs feed is set up. New blog posts will appear as updates on your Page Timeline and in the News Feed.

The benefits to following your blog on Timeline is that you and others won’t have to leave Facebook to receive updates. If the headline, thumbnail image, and blurb are intriguing, folks will follow the link back to your blog and read the entire post. Most people agree Facebook is a great referrer of traffic to blogs.
Also, consider is how networked blogs may keep people from engaging on your blog itself as they may not want to leave Facebook. A trial run may be a good idea to measure both engagement and traffic after a month to see whether your network blog is worth the effort

No comments:
Post a Comment